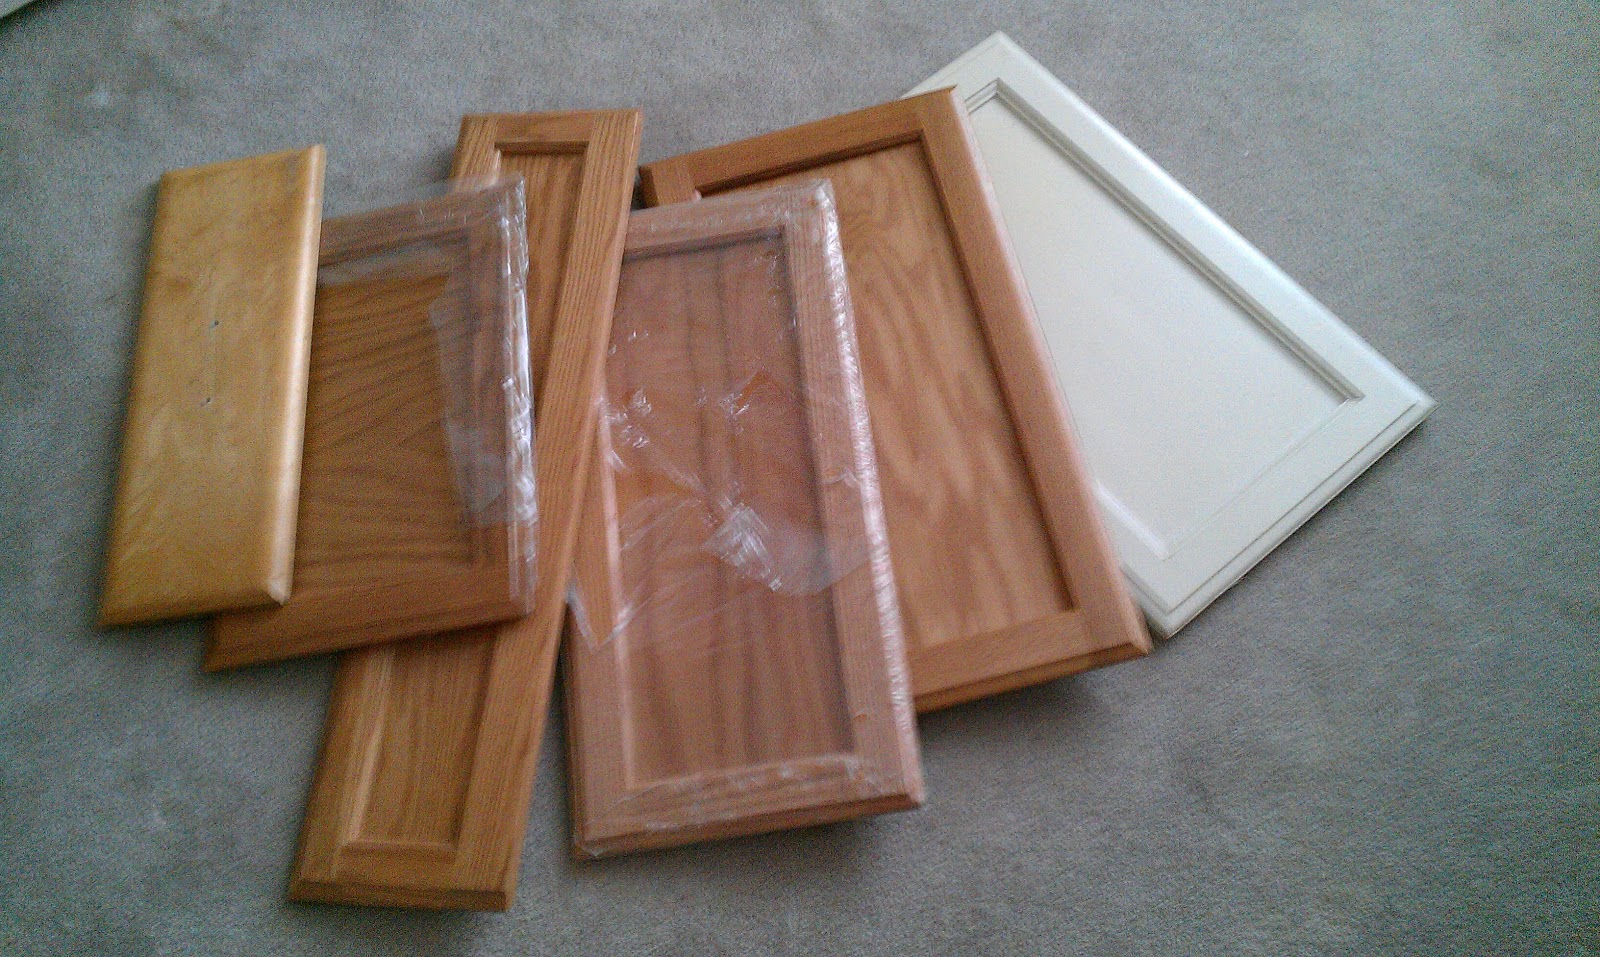
On a recent trip to Re-Store, a local habitat for humanity thrift store I purchased all six of these cabinet doors for just $14. I have ideas in mind for all of them.
First I wanted to do a cute chalkboard for my from door and this is what I came up with
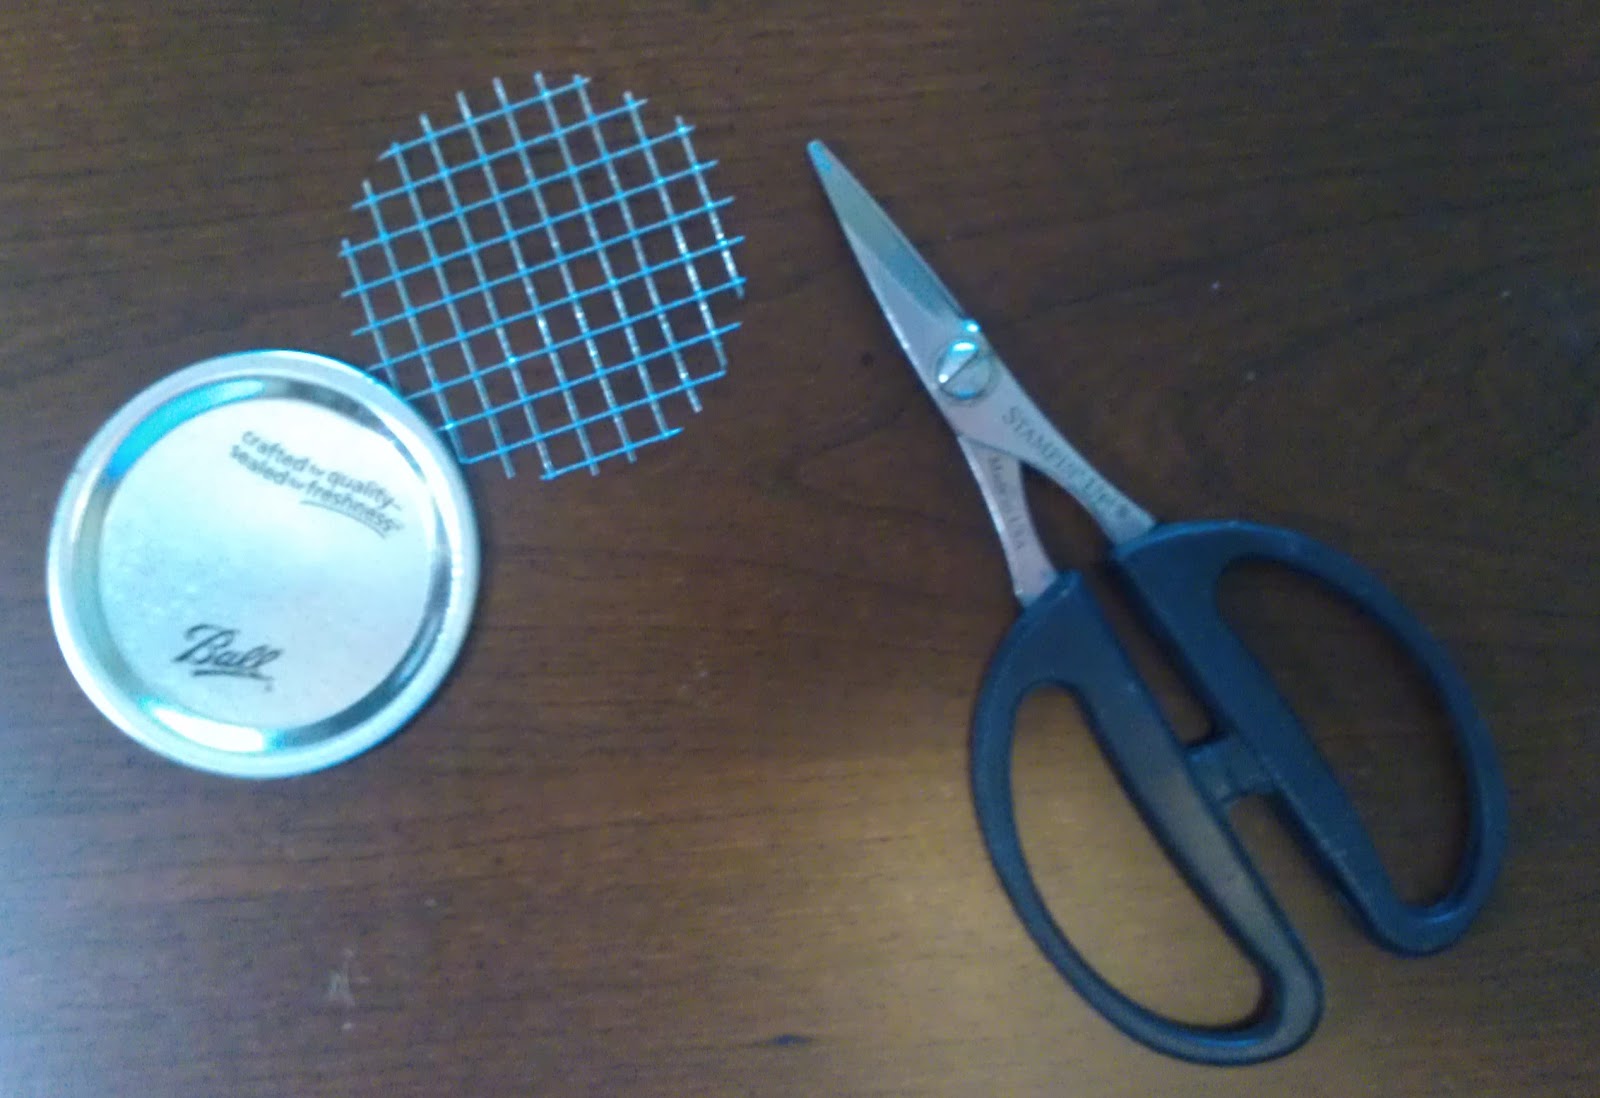
I gathered my supplies
Chalkboard paint, green paint (leftover from another project), black antiquing gel, fine sand paper, foam brushes and rags.
I first sanded the finish lightly and wiped the dust off.
I painted the center with chalkboard paint, let dry then painted the frame with the green paint.
It took two coats of each, let dry.
You can get sloppy here, the paint drips just add to the charm.
I then sanded and scuffed up the green frame to distress it
then rubbed on some wood stain.
I drilled 1/4" holes on the top and used wood glue to add a drawer handle (upside down) to the bottom that I had purchased at the local hardware store to keep the chalk handy.
I added some wire edged ribbon I had on hand - I love, love, love black and white gingham!
Looping it from the back to the length I wanted.
Then tied a bow in the front.
Kinda hard to make a bow while taking pictures with one hand. Future video tutorial on bow tying to come. Yep! My DH set me up with a video camera and so after I work out the deets I will be adding some videos - Yay!
Now all that's left is to add a message. For those of you who don't know - I am a Dog Groomer/Stylist so I just had to add a dogie paw to my sign - sweet!
Here it is on my front door.
This chalkboard is very versatile - It can be used for the front door now and later It can be displayed on a stand, the mantle or used to display the menu, grocery list or any message or quote or just to add a bit of whimsy anywhere. The ribbon can be switched out and colored chalks can also be used. Check out my front door makeover
Here.
I am looking forward to changing it up for the different holidays and occasions!
One cabinet door done, five to go!
Thanks for stopping by! Please leave a comment, I would love to hear from you.
Holly


.jpg)
.jpg)
.jpg)
.jpg)
.jpg)


.jpg)

.jpg)
.jpg)
.jpg)

.jpg)
.jpg)


.jpg)
.jpg)
