


I found this frame at Michael's. What I love about it is that it has a hinged and magnetized door so the contents can easily be changed out. It's also a shadowbox which will allow for 3-D art. Best part - It was on sale - 50% off.


My first thought was to make button art the kind I've been seeing all over Pinterest. And here is what I came up with.

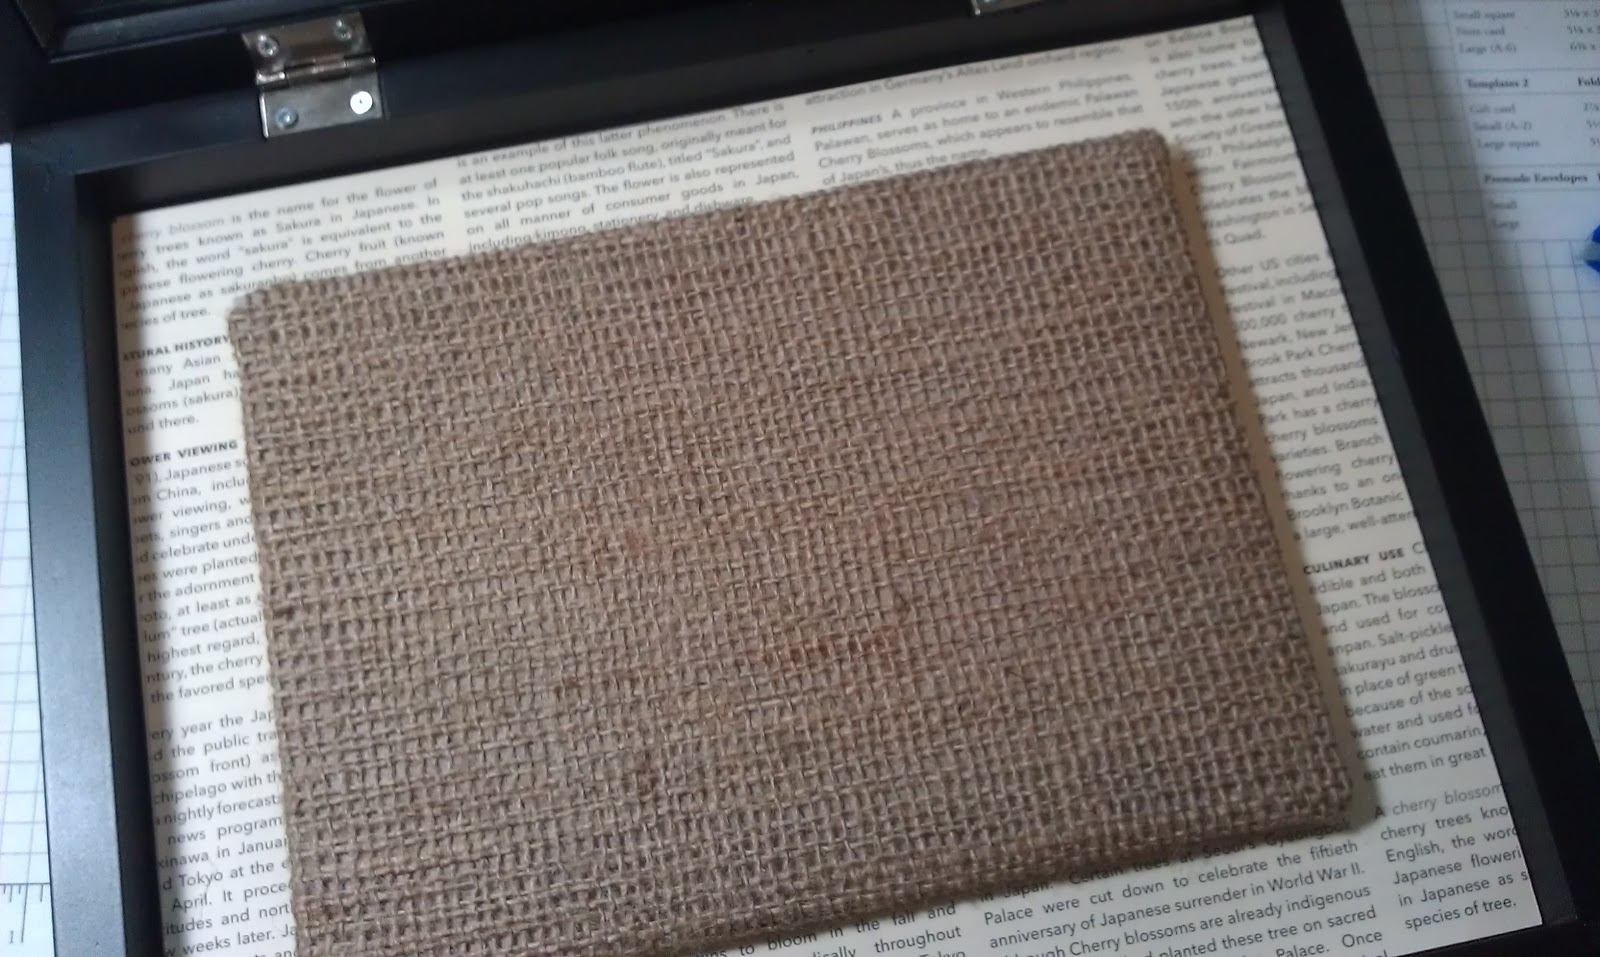
First I removed the paper example inside.

I don't much care for the fabric color inside but, I plan to cover that.

For my backdrop I cut a piece of On Board Chipboard then used a multipurpose adhesive sheet to create a sticky side to the chipboard and adhered that to a larger piece of burlap.

Then, using a glue gun I glued the sides to the back of the chipboard.

Then glued the top and bottom flaps of burlap to the back of the chipboard.


Then to create the corners I glued the flaps flat by adding glue in the center of the corners then pressing the burlap flat so that it does not hang over the edge.


Snipped off the stringy parts.

I then decided to back it with Newsprint Designer Series Paper.

I measured and cut it to fit inside the frame along with a thin piece of cardboard.


then with Velcro dots attached them into the frame so that it can be changed easily.

I attached the paper to the cardboard,

then with Velcro dots attached them into the frame so that it can be changed easily.
Then I attached the burlap covered chipboard the same way.


Now for my artsy fartsy button art.
I decided on a heart and tried several times to cut a folded piece of paper into a heart shape I liked.


I decided on a heart and tried several times to cut a folded piece of paper into a heart shape I liked.

Once I had my shape I simply traced it onto a piece of paper.

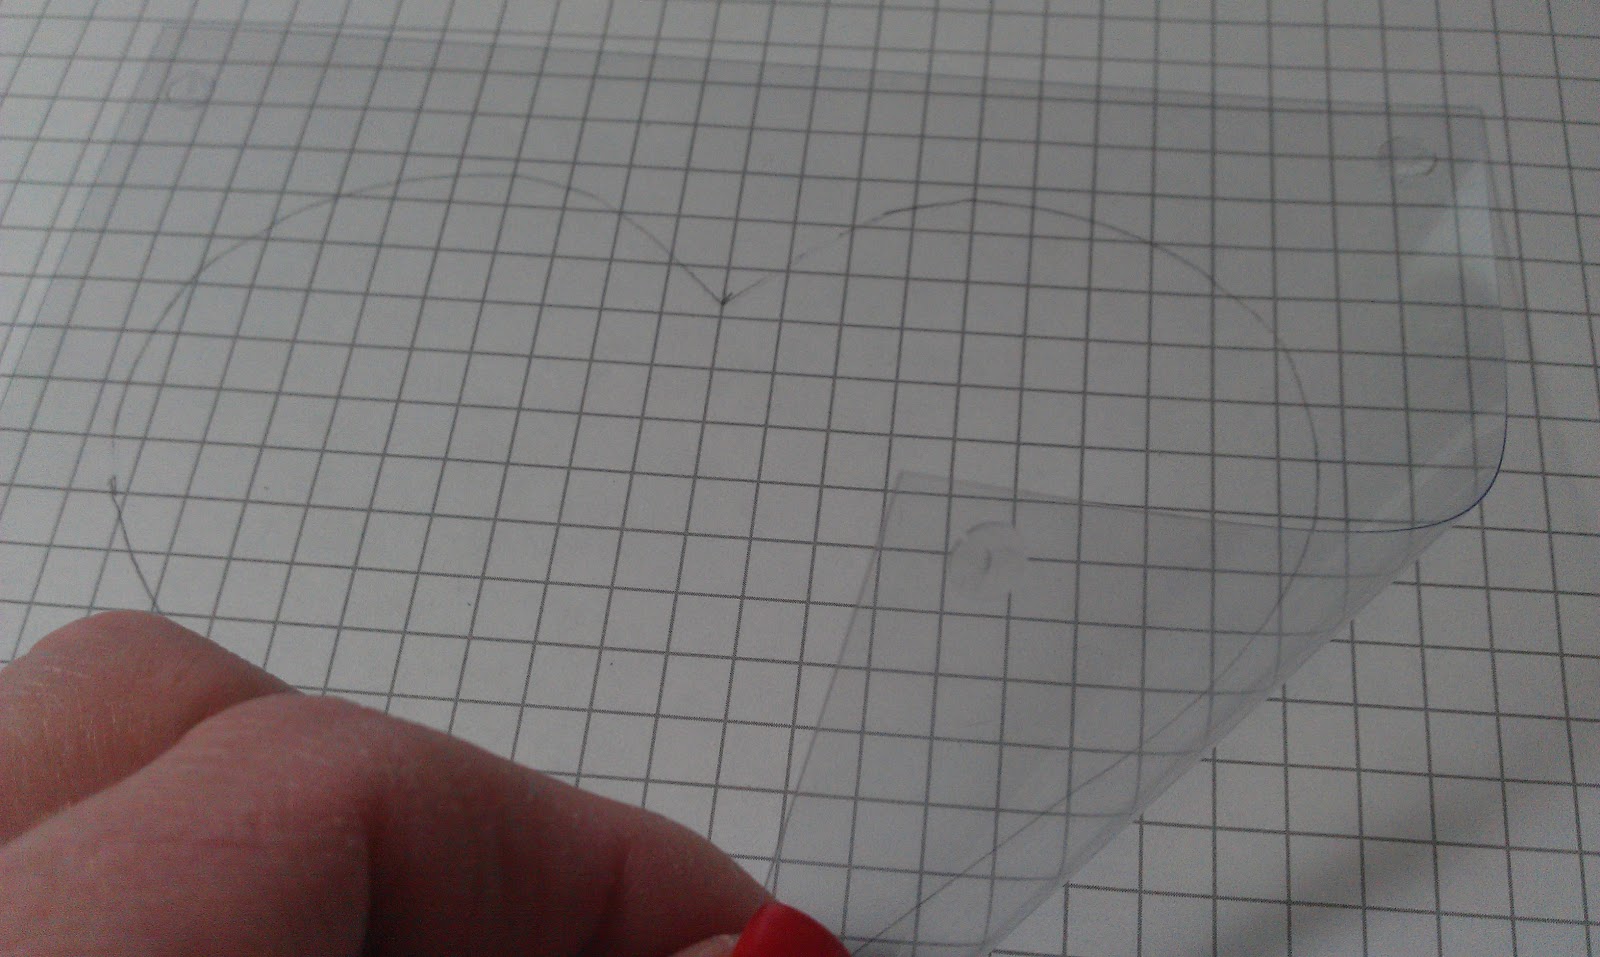
Then, using a piece of Window Sheet larger than the heart, I placed glue dots on the outside corners to hold it in place over the heart.

I decided to use my favorite Stampin' Up! buttons - Vintage Faceted Buttons.

I used Crystal Effects to glue the buttons, starting with one layer keeping them inside the lines for the most part, then let dry.
I used more Crystal Effects to add more layers of buttons creating three dimensions.


In the end the buttons are 1, 2 and 3 deep in some places.
I let them dry completely and re-glued any loose buttons.

I let them dry completely and re-glued any loose buttons.

Then with Paper Snips, I carefully cut away the excess Window Sheet.


Wow! I did that!
Then - You guessed it! More Velcro.

I made a tag to finish it off.

Velcro'd on of course.

Thanks for stopping by! Comments welcome.
I have been meaning to do some button are your's is fantastic and you have given me some ideas.
ReplyDeleteRegards Shirley
Thanks!
DeleteBeautiful home decor project! Love the clear buttons!
ReplyDeleteThanks, I plan to change it up for Valentines.
DeleteOh my gosh!! I love it!!!
ReplyDelete