


I purchased these baskets a couple of years ago to organize my crafting supplies and utilize the space above the shelving in my office. I wish they had come with liners and covers, especially covers to keep the dust out.
I decided to use some of those craft supplies and make my own basket liners.
This is the end result - with a hook and loop closure to easily access my supplies - Love it!

These are the supplies I used:
Fabric
Square basket
Square basket
Coordinating thread
Sew on Hook and loop
1/2" Elastic
Sewing machine
Ruler
Scissors
pins
Roller Cutter
Cutting Mat
Roller Cutter Guide Ruler
Iron and Ironing board
I measured the basket to get the dimensions.
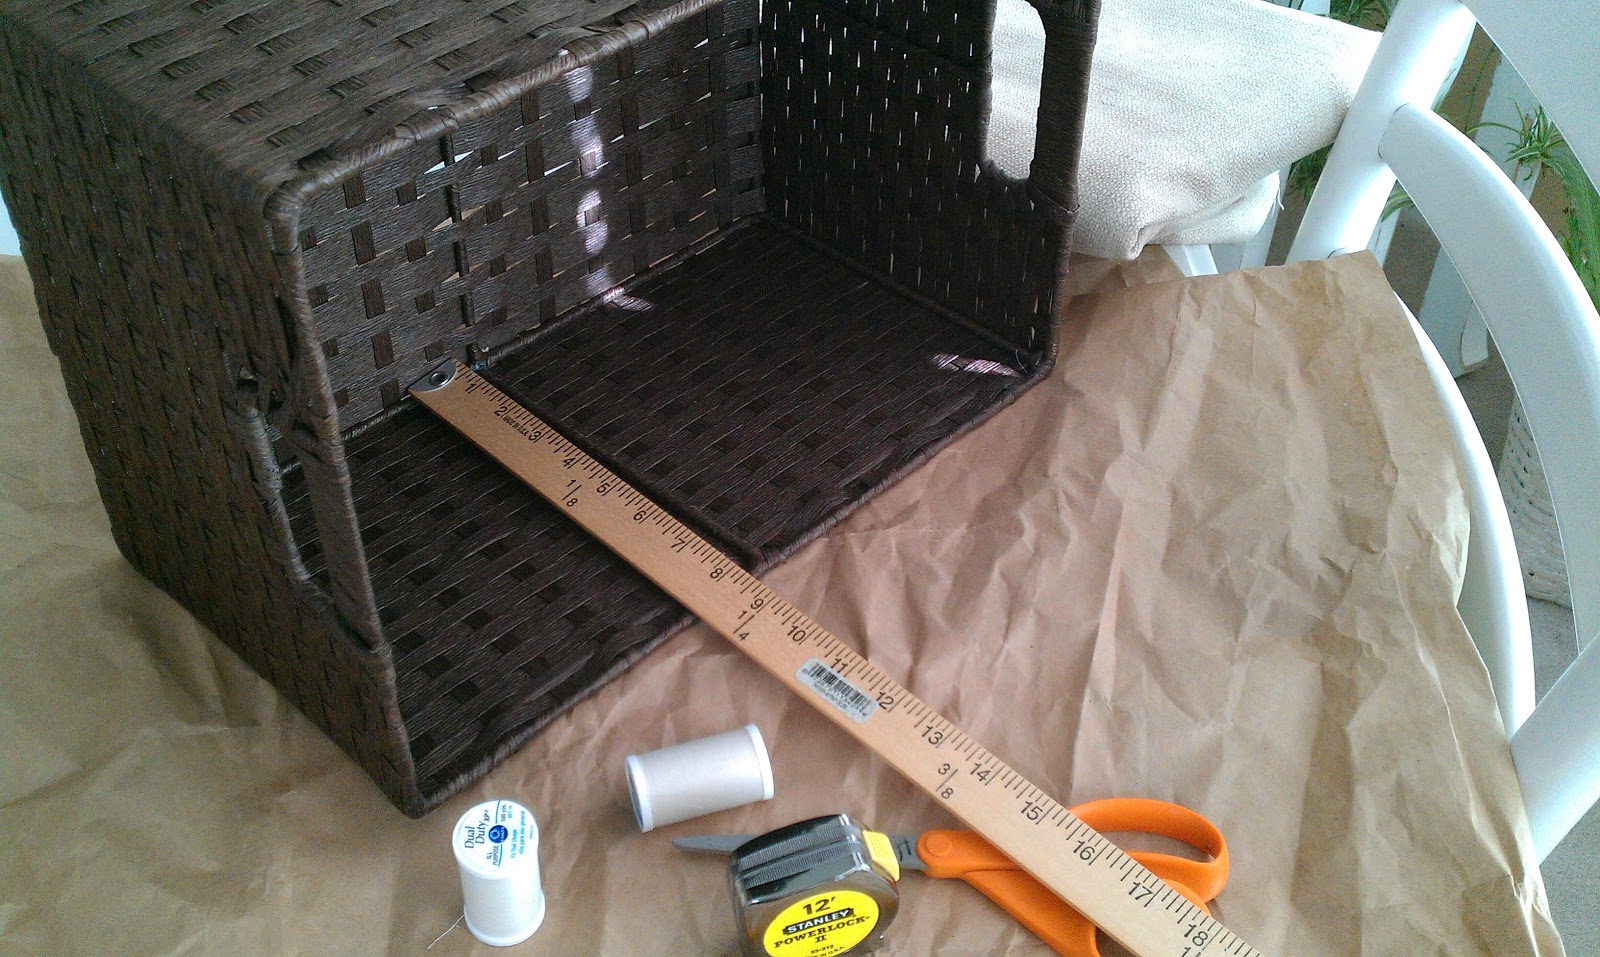

I drew out a diagram for easy reference


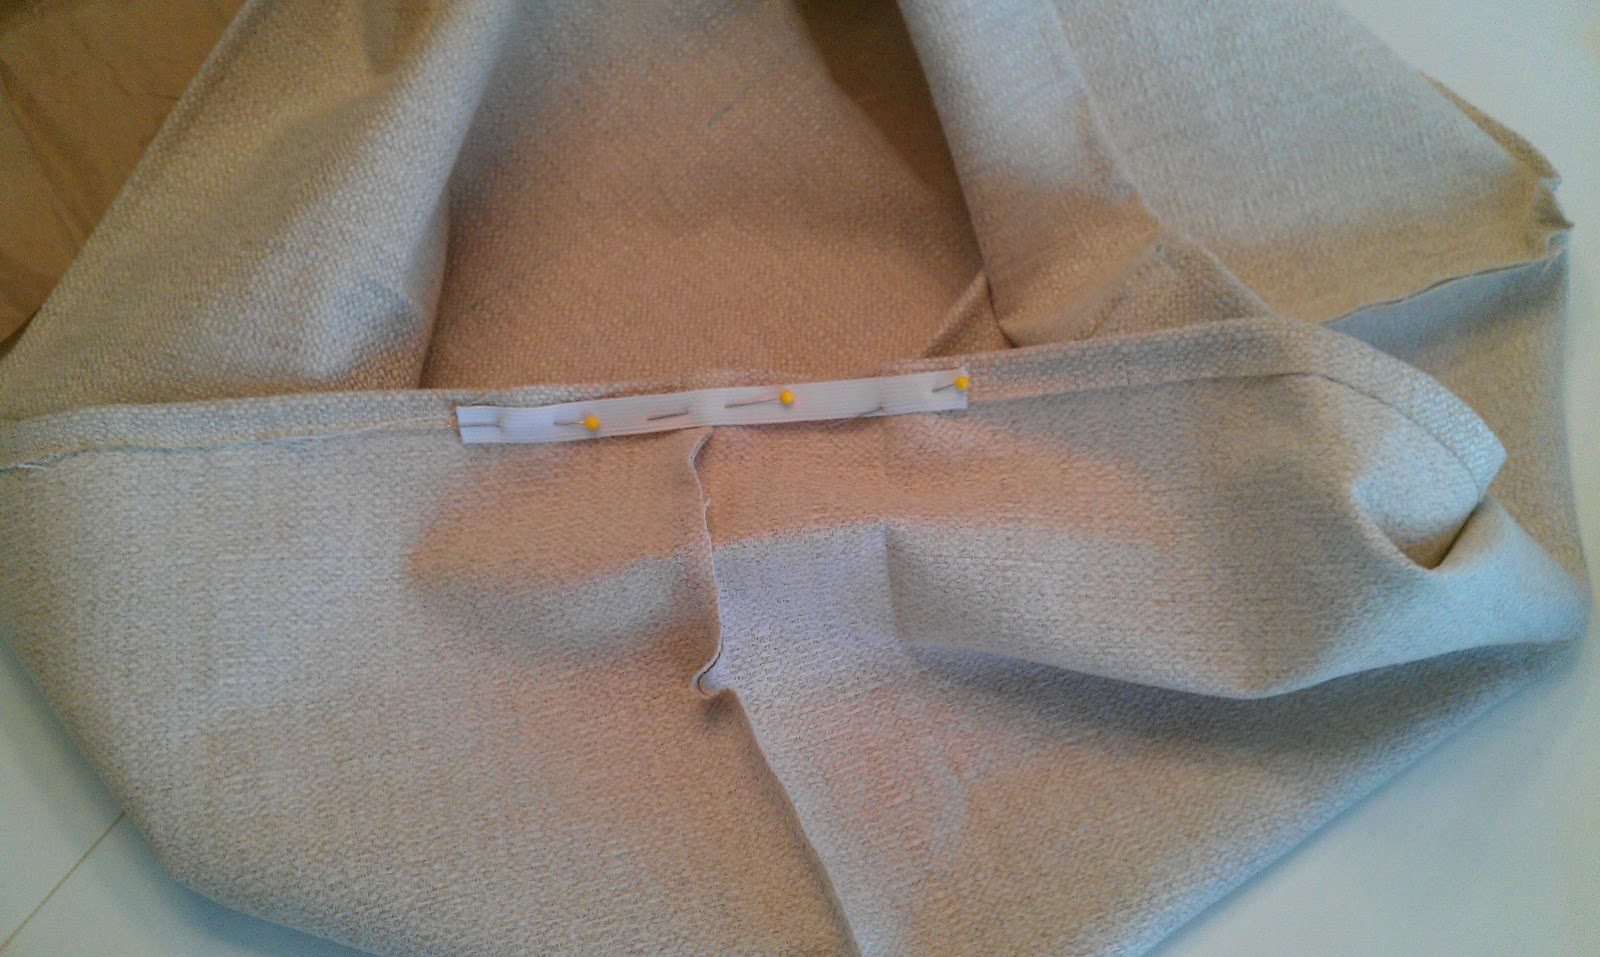
To assemble I matched fabric face to face and pinned - The front side of both main piece and one end piece.


Continue onto the other end, piecing it together in the same way.
Check to make sure it fits the basket.

Whoohoo! it fits!!
Next, I took the liner out and folded the overhang under 1/2" and sewed around the edge.


The liner is done.

Now for the cover...
And cut this piece 17"x16"
Folding and ironing the sides, fold twice at 1/2".


Pin and sew.

Continue with the other sides.

Make sure it fits. I will hang over the sides to allow for the hook and loop.


I added a label and Voila!

One down, five to go!
I hope this all makes sense and inspires you to tackle your own project.
Thanks for stopping by, I'd love to hear from you!
Holly

No comments:
Post a Comment
Feel free to leave feedback